
Introduction
Oh My Posh is one of those tools that can completely transform the way you experience your terminal. Whether you’re on Linux, macOS, or Windows, it provides a highly customizable prompt theme engine that not only looks amazing but also enhances functionality. When you spend hours in the terminal, small details like a clean, informative, and beautiful prompt can make a big difference. With Oh My Posh, you can go beyond the default terminal look and create something that reflects your workflow and aesthetic preferences.
Installing and setting up Oh My Posh might seem a bit intimidating at first, but it’s actually pretty straightforward once you break it down. For macOS and Linux users, you’ll primarily be working with tools like Homebrew and modifying your shell configuration files. Windows users can use PowerShell with winget or a manual installation method. No matter your operating system, the process includes installing the base tool, setting up your terminal’s configuration, and choosing a theme that works for you. Along the way, you’ll also want to install Nerd Fonts or similar options to ensure the themes render as intended. The documentation for Oh My Posh is robust, and that makes the setup much easier to follow.
What really makes Oh My Posh shine is the flexibility it gives you. You can integrate Git status, system information, or other useful data directly into your prompt. The tool allows you to tweak every detail, from fonts to colors, and even update themes effortlessly. It’s perfect for developers, system administrators, or anyone who spends a lot of time on the command line. If you’ve ever wanted to add personality and functionality to your terminal experience, then Oh My Posh is worth trying. Throughout this guide, I’ve outlined the steps and included tips to help you get started and troubleshoot along the way.
References


Prerequisites
- MacOS Brew
- Sudo / Administrator Access
- Machine is online, and up-to-date
Overview
Oh My Posh is a customizable prompt theme engine for your terminal, designed to enhance your shell experience across various operating systems like Linux, MacOS, and Windows. It supports multiple shells, including Bash, PowerShell, and Zsh, allowing you to tailor the look and feel of your terminal prompt to your preferences. With a wide range of themes available, it's easy to find something that matches your aesthetic or workflow.
One of the standout features of Oh My Posh is its flexibility. You can customize your prompt with detailed configurations, integrating everything from Git status to system information. While the core functionality is free, you may run into some gotchas, like needing specific fonts (Nerd Fonts) for the themes to render correctly. These can be installed easily, but they are an extra step. Overall, it's a great tool for anyone who spends a lot of time in the terminal and wants to make it both functional and visually appealing.
MacOS Install
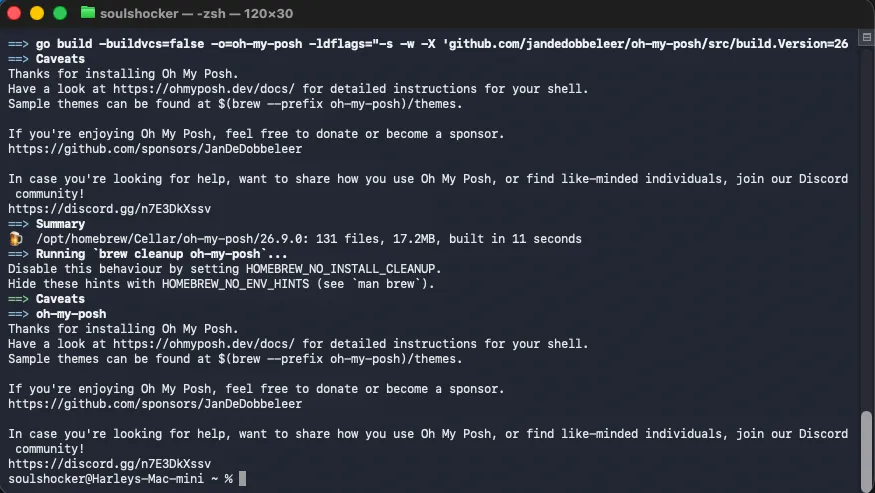
brew install jandedobbeleer/oh-my-posh/oh-my-posh
Setup
You will need to modify the terminal profile, append this at the bottom of ~/.zshrc. You can use nano ~/.zshrc to open the file. Then use Control+O to save and Control+X to exit:
eval "$(oh-my-posh init zsh)"
Reload Terminal
Use the following command to reload the PowerShell profile:
source ~/.zshrc
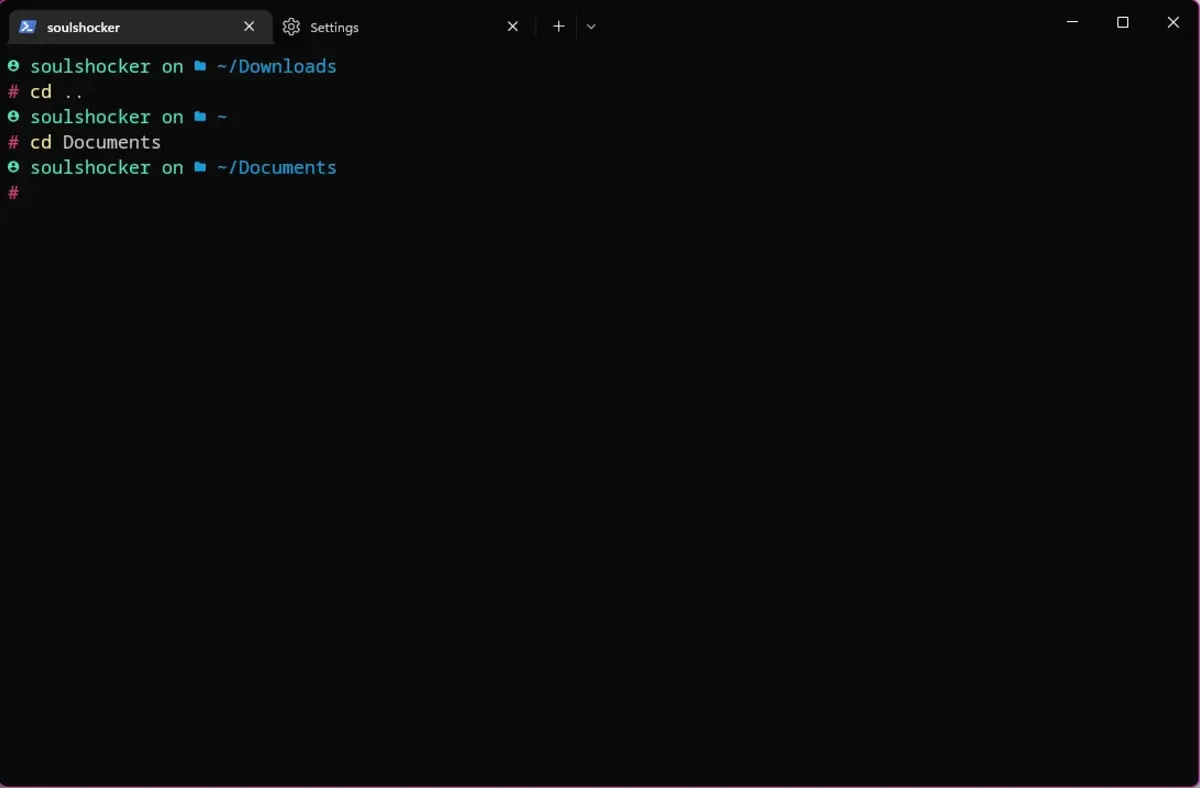
Configure Theme
To use Oh My Posh, you will need a theme. Look at the Themes Docs for inspiration. Click on the link to the theme's repository to download the theme and place it in your default User folder. To set a theme, you will need to open up your profile and replace eval "$(oh-my-posh init zsh)".
nano ~/.zshrc

# Try this first, if not then you will need to try with the brew prefix, replace the
# theme file with one from <https://ohmyposh.dev/docs/themes/>
eval "$(oh-my-posh init zsh --config ~/catppuccin_frappe.omp.json)"

# If the above doesn't work
eval "$(oh-my-posh init zsh --config $(brew --prefix oh-my-posh)/themes/sonicboom_dark.omp.json)"

# What I am rocking currently
eval "$(oh-my-posh init zsh --config $(brew --prefix oh-my-posh)/themes/1_shell.omp.json)"
Use Control+O to save and Control+X to exit.
Install Fonts
In order to work on this, I chose to install the Noto and Nerd fonts. Look at the Font Documentation. You can also install MesloLGL Nerd Font as well.
oh-my-posh font install
After you have chosen your desired font and the Nerd fonts, then you can change the font appearance in the Terminal. You may need to reload the terminal for the changes to take affect. I copied the basic profile and built my own selecting the font.
Updating OMP
To update Oh My Posh you can the upgrade using homebrew.
brew update && brew upgrade oh-my-posh
Windows Install
Make Windows Terminal the Default Application
If you are on Windows 11 this should already be set, however, good thing to check. If you are not on Windows 11 you need to download Windows Terminal from the Microsoft Store. If you prefer not to use Windows Terminal, then you can skip this step.
You will want to go into settings on Windows Terminal and make sure these are set.

Launch PowerShell or Windows Terminal to Install Oh My Posh
Installation
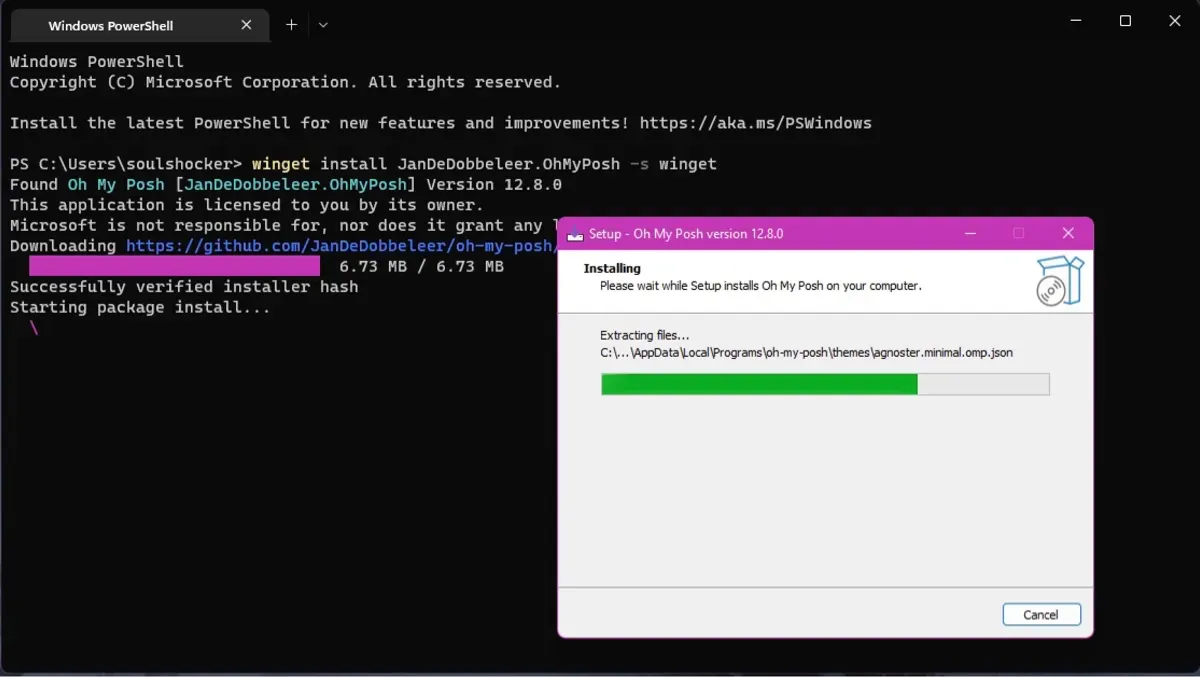
Open up your PowerShell terminal of choice and run this winget command:
winget install JanDeDobbeleer.OhMyPosh -s winget
Alternatively, you can run the manual method using this command:
Set-ExecutionPolicy Bypass -Scope Process -Force; Invoke-Expression ((New-Object System.Net.WebClient).DownloadString('<https://ohmyposh.dev/install.ps1>'))Once you execute the command, you will see it start to install.
Setup
You will need to modify the PowerShell Profile. If you have already created a PowerShell Profile, then you can skip on to the next step.
New-Item -Path $PROFILE -Type File -Force
After the profile is created, open up the profile using this command:
notepad $PROFILE
Add the following in the notepad, save then exit:
oh-my-posh init pwsh | Invoke-Expression
Reload PowerShell
Use the following command to reload the PowerShell profile:
. $PROFILE
Troubleshooting
If you run into an error about execution policy. You may need to run PowerShell as an administrator and set the execution policy to Bypass. Note this does lower security on your system. Read Microsoft Documentation on Execution Policy
Set-ExecutionPolicy Bypass
Configure Theme
To use Oh My Posh, you will need a theme. Look at the Themes Docs for inspiration. To set a theme, you will need to open up your profile again and replace oh-my-posh init pwsh | Invoke-Expression.
If you need the name of the file, use Get-PoshThemes and then replace amro with the name. You can look at C:\\Users\\username\\AppData\\Local\\Programs\\oh-my-posh\\themes for the names.
notepad $PROFILE

oh-my-posh init pwsh --config $env:POSH_THEMES_PATH\\\\\\\\\\\\\\\\sonicboom_dark.omp.json | Invoke-Expression
Install Fonts
In order to work on this, I chose to install the Noto and Nerd fonts. You will need to be running PowerShell in Administrator mode to install Fonts. Look at the Font Documentation
oh-my-posh font install
After you have chosen your desired font and the Nerd fonts, then you can change the font appearance in the Terminal. You may need to reload PowerShell or Windows Terminal for the changes to take affect.
Updating OMP
To update Oh My Posh you can the upgrade winget command or the manual command if you prefer that method.
winget upgrade JanDeDobbeleer.OhMyPosh -s winget
Set-ExecutionPolicy Bypass -Scope Process -Force; Invoke-Expression ((New-Object System.Net.WebClient).DownloadString('<https://ohmyposh.dev/install.ps1>'))
VS Code
VS Code works a bit differently on MacOS versus Windows. While it should take the default $PROFILE in PowerShell, you may have to create a new profile. Also a side note, $env:POSH_THEMES_PATH may not be available so you would need to link the full Github theme link. Make sure you do cmd (or CTRL) + shift + P to open up the command menu and add VS Code to the path.
If you’re using VS Code on MacOS and it’s not showing up by default, you may need to add it to the terminal or reload your terminal.
oh-my-posh init pwsh --config "<https://github.com/JanDeDobbeleer/oh-my-posh/blob/main/themes/1_shell.omp.json>" | Invoke-Expression

# or you can try
oh-my-posh init pwsh --config $env:POSH_THEMES_PATH\\1_shell.omp.json | Invoke-Expression
Conclusion
Oh My Posh is more than just a tool; it is a way to redefine and personalize your terminal experience. Throughout this guide, I have walked you through the process of installation, setup, and configuration across different operating systems, including macOS, Windows, and Linux. By following these steps, you can unlock a powerful way to enhance productivity and aesthetics in your command-line workflows. Whether you are a developer, system administrator, or someone who frequently uses the terminal, Oh My Posh offers a flexible and highly customizable solution to fit your needs. From installing Nerd Fonts to configuring themes, every detail is designed to help you make the terminal truly your own. As you explore this tool further, you will find that it is not just about looks but also about functionality and efficiency.
I hope this guide has demystified the process for you and provided a clear roadmap to get started with Oh My Posh. Like any tool, the real value comes from experimenting with it to discover what works best for your workflow. The extensive documentation and community resources available make it easier to troubleshoot and explore advanced features. If you have been hesitant to make changes to your terminal setup, I encourage you to take the leap and try Oh My Posh. It is a small investment of time for a significant improvement in your daily tasks. Thank you for following along, and I hope this has inspired you to bring a little more personality and functionality to your terminal. As always, feel free to share your feedback or insights as you explore what Oh My Posh can do.
Full Disclosure
Most of this article is comprised of facts and opinions. AI (specifically Grok and Notion AI) was used in the creation of this post. The featured background image was created by andyoneru and is available on Unsplash. I added a blur and a gradient overlay with some text. The following images have been pulled or screenshotted from the respective websites/applications. I do not own this content.