Introduction
In today's digital landscape, establishing a strong personal brand has become crucial. One of the most effective ways to achieve this is by creating your own website. It's a powerful tool that allows you to showcase your skills, expertise, and unique identity to the world. In this blog post, I will explore the importance of branding yourself and delve into practical steps for setting up your own WordPress instance. Whether you prefer the convenience of a web hosting service or the flexibility of self-hosting a version of WordPress, I've got you covered. So, let's dive right in and discover the options available for launching your own digital presence.
Popular Web Services
As promised, here are some servers that I researched that can provide hosting services and One Click WordPress Installations.
Each of these should also be able to provide a domain, and email services too.
Hosting it Yourself
Self-hosting can be a difficult task depending on which route you take. I will be showing you the easiest method to get up and running. If you haven't seen my Ultimate Docker Guide, I suggest you review that first before continuing.

If you want to review the Docker Hub page for WordPress, you can do so here. If you are using an SQL database on the same server, make sure that you attach the container to the same network so you can use the container name in place of the IP. Replace the names, username and password, and the location for the data folder. If you need to host it on another port, you can do so.
docker run -d \
    --name wordpressname \
    --restart always \
    -e WORDPRESS_DB_HOST=mariadb_server \
    -e WORDPRESS_DB_USER=username \
    -e WORDPRESS_DB_PASSWORD=password \
    -e WORDPRESS_DB_NAME=databasename \
    -p 8080:80 \
    -v /data/wordpress/websitename:/var/www/html \
    wordpress
This is the tricky part, WordPress has a memory limit that hinders uploading large files, or even semi-large files. You will need to modify the .htaccess file inside the data folder to account for this. You will need to restart the container. If you are using Portainer, you can do it from the GUI. From the console it is as simple as sudo docker restart container.
cd /data/wordpress/websitename
nano .htaccess

php_value memory_limit 256M
php_value upload_max_filesize 64M
php_value post_max_size 64M
php_value max_execution_time 300
php_value max_input_time 1000
Use Control + O to save and Control + X to exit.
Themes
I started out by buying themes and then shaping them to where I needed them to be. This is a great method, and if you intend to develop websites for clients, it would be best to be upfront about it. Then I became more curious about web development. YouTube can only teach you so much so I found an alternative.
Brad Hussey is a Canadian Web Developer who makes content revolving around web design. Because of him, I was able to build WordPress themes based on Bootstrap that looked immaculate.
Here is a link to the updated course on how to design your own theme by Brad Hussey.
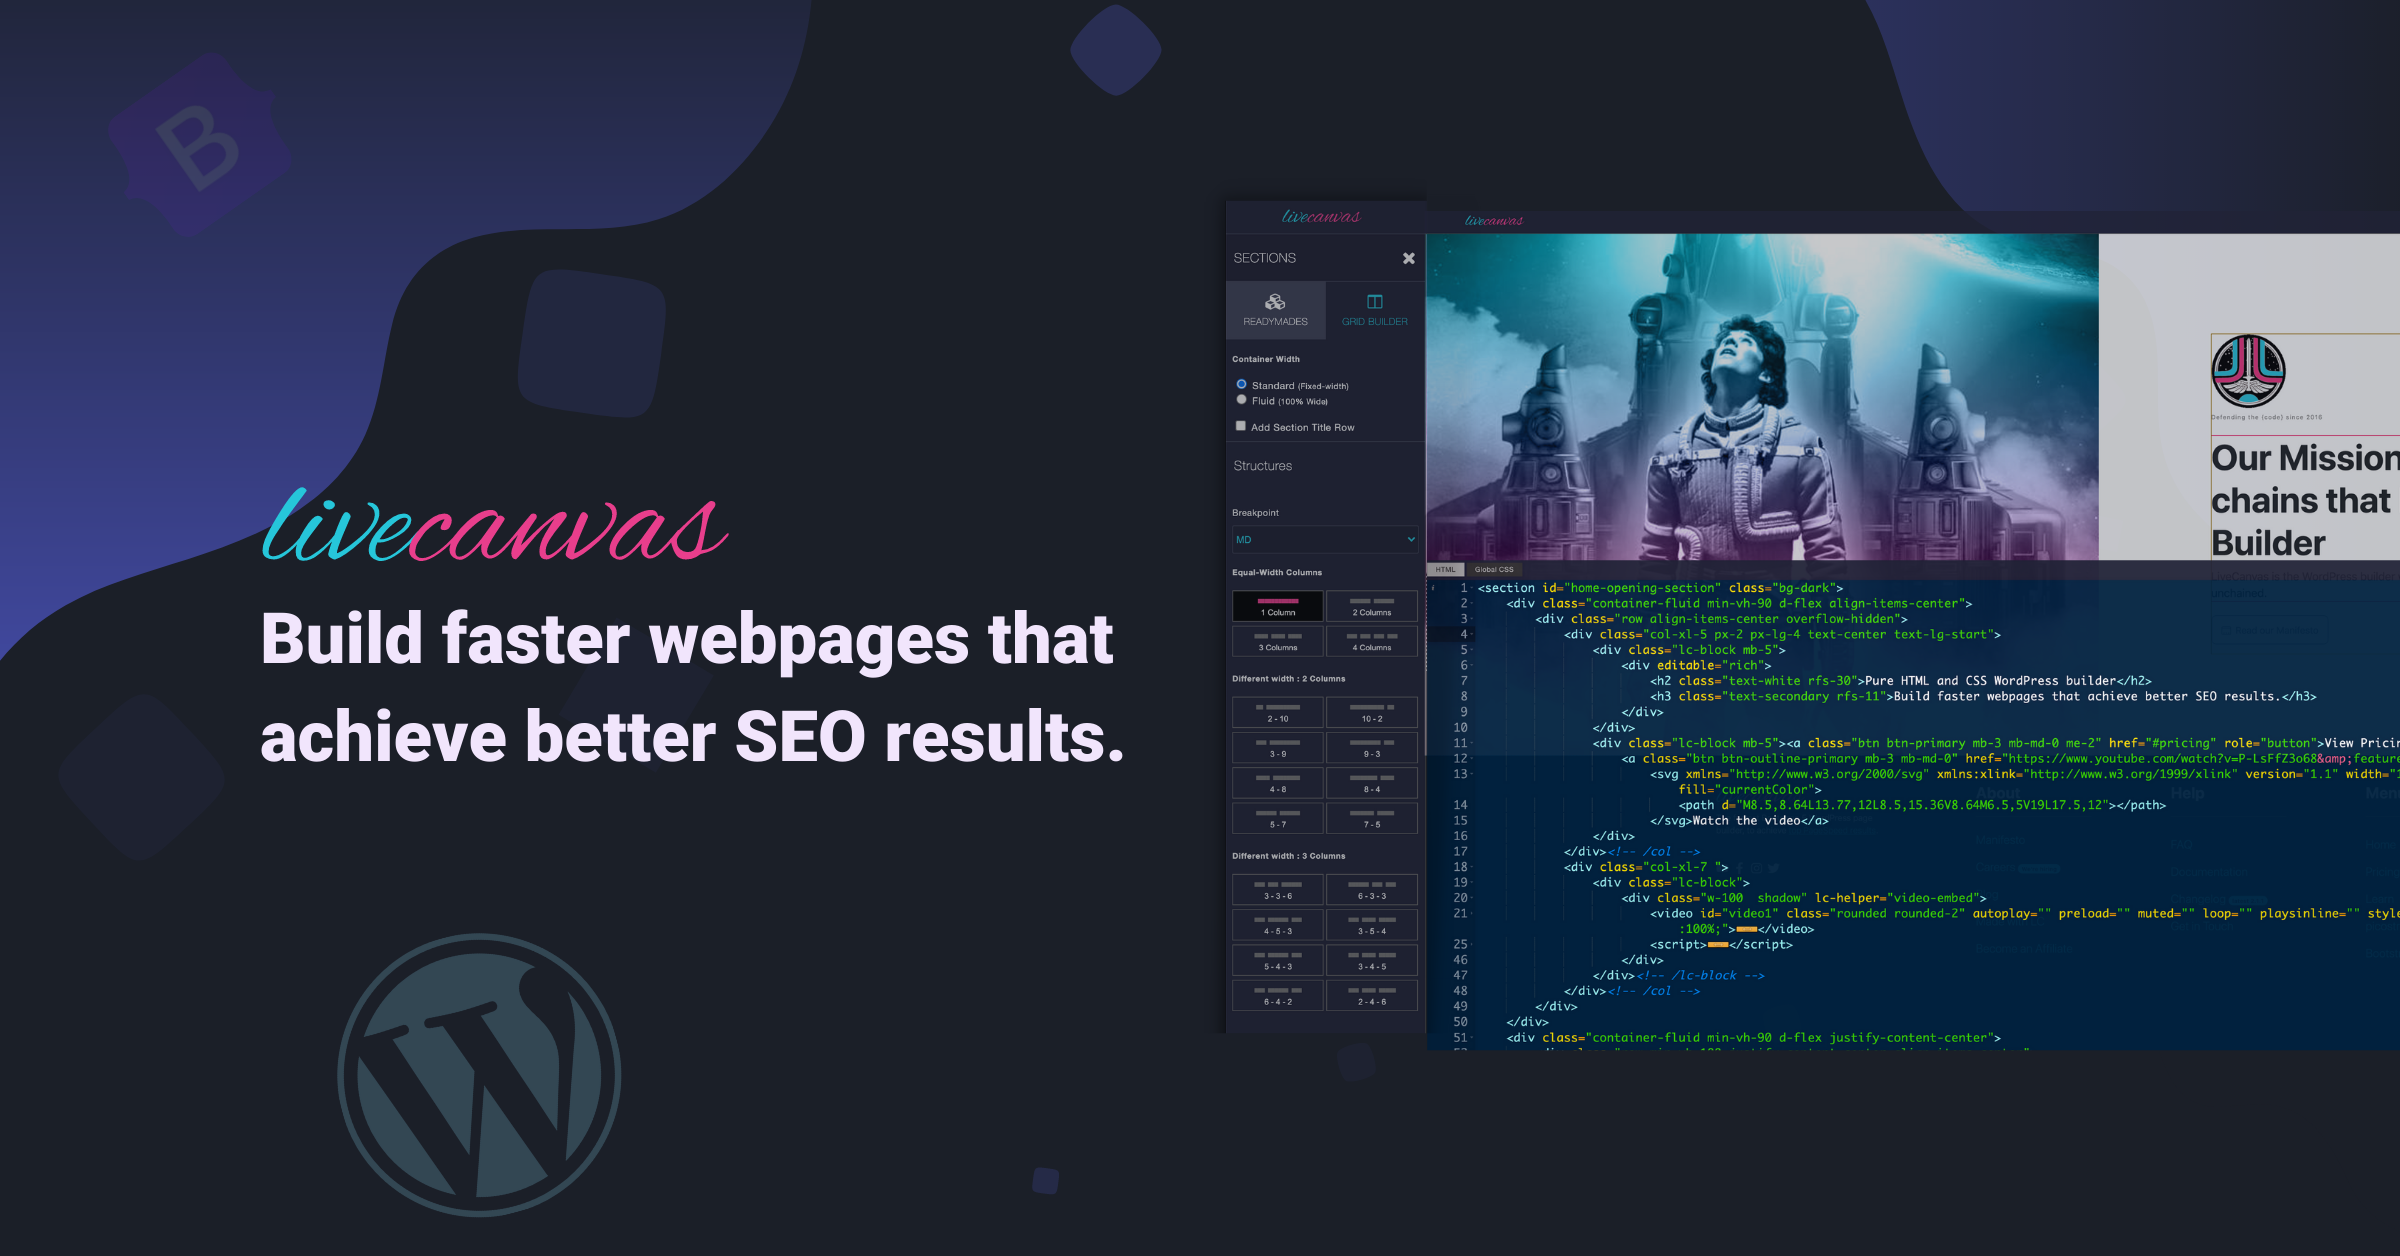
If you are interested in just buying a theme, I can recommend several. My favorite is Live Canvas. It is based on Bootstrap and has everything to get up and running. Using Bootstrap Documentation, you have the ability to fully customize your website.

However, there is ThemeForest which has templates for many applications than just WordPress.
My Own Function
I want to end this article with an example of the customization that WordPress provides. On my main website, https://harleybfrank.com, I wanted to display my latest blog posts. It was a matter of making an API call and then organizing it into a shortcode that could be displayed on the website.
To add this as a function, you should navigate to your WordPress login, go under Appearance then Theme File Editor. On the right, you should see something along the lines of functions.php.
function ghostlatestposts_shortcode() {
	ob_start();
	$apiUrl = 'https://your-ghost-api-url.com/ghost/api/v3/content/posts?key=YOUR_API_KEY';
	$response = file_get_contents($apiUrl);
	$data = json_decode($response, true);
	$posts = $data['posts'];

	ob_start();
	?>
	<section class="latest-ghost-posts">
		<div class="container py-4 py-md-6">
			<div class="row mb-4">
				<div class="text-center mb-4">
					<h2 class="display-2 fw-bolder">Latest Posts</h2>
				</div>
				<div class="text-center">
					<p class="lead">My Thoughts on Paper.</p>
				</div>
			</div>
			<div class="row mb-4">
			<?php foreach ($posts as $post) : ?>
				<div class="col-lg-4 col-sm-4 py-2">
				<div class="card">
					<a href="<?php echo $post['url']; ?>"><img src="<?php echo $post['feature_image']; ?>" class="card-img-top" alt="..."></a>
					<div class="card-body">
					<small class="text-muted"><?php echo date('F j, Y', strtotime($post['published_at'])); ?></small>
					<a href="<?php echo $post['url']; ?>"><h5 class="card-title"><?php echo $post['title']; ?></h5></a>
					</div>
				</div>
				</div>
			<?php endforeach; ?>
			</div>
		</div>
	</section>
	<?php
	return ob_get_clean();
}
add_shortcode('ghostlatestposts', 'ghostlatestposts_shortcode');
To use this, just type [ghostlatestposts] in the page editor and it will display when you save the page.
Conclusion
To summarize this article, it's important to build your brand. The best way is your own website. This can be a blog, or a start of a new business. Even if you want to use it to showcase your resume for future employment.
Full Disclosure
Most of this article is comprised of facts and opinions. The featured background image was created by andyoneru and is available on Unsplash. I added a blur and a gradient overlay with some text.


